In Part 2 of our WordPress Theme Development Guide, we’ll dive into the essential components of wordpress theme, that form the backbone of your theme. We’ll cover everything from creating a new theme directory to understanding the template hierarchy. By the end of this page, you’ll have a solid grasp of how to establish the fundamental structure of your theme.
Creating a New Theme Directory
The first step is to set up a new theme directory within your WordPress installation. This directory serves as the home for all your theme files, including templates, styles, and scripts.
To create a new theme directory:
- Navigate to the theme directory: This is where all themes for your WordPress site are stored,
~/Local Sites/{{your-site-name}}/app/public/wp-content/themes - Create a new theme folder: Choose a descriptive and unique name for your theme and create a folder for it within the
/themesdirectory. Let’s call our new theme “Really Cool Theme” and we create a new fodler for it,reallycool. The complete path to theme directory is~/Local Sites/mycoolblog/app/public/wp-content/themes/reallycool
Necessary Files and Folders
Within your newly created theme directory, you’ll need to include specific files that WordPress recognizes as essential for theme functionality. Here are the primary ones:
- style.css: This is the main stylesheet for your theme and provides information about your theme, such as its name, author, version, and description. We’ll go into more detail about this file in a moment.
- index.php: This is the fallback template that WordPress uses when it can’t find a more specific template for a particular content type. It’s a core file in any WordPress theme.
- category.php: Displays content for specific category archives in your WordPress theme.
- search.php: Controls the layout and appearance of search results pages.
- page.php: Manages the structure and style of individual pages on your website.
- header.php: This file contains the header section of your theme, which typically includes the site’s logo, navigation menu, and any other header elements you want to display consistently.
- footer.php: Similarly, the footer.php file houses the footer section of your theme, where you can place copyright information, social media links, or other footer content.
- screenshot.png: This image file serves as a thumbnail of the wordpress theme.
In coming parts of this series we will cover each of these files in details.
Understanding the Template Hierarchy
One of the powerful features of WordPress is its template hierarchy, which determines how WordPress chooses the appropriate template to render a specific type of content. By understanding this hierarchy, you can create templates that cater to various content types in your theme.
The hierarchy starts with the most specific template and falls back to more general templates if needed. For example, if you’re viewing a single blog post, WordPress will first look for a template named single.php. If it doesn’t find that, it will use index.php as a fallback. We will discuss these files in details in coming parts.
Adding a Basic Stylesheet (style.css)
Your theme’s appearance is defined by CSS (Cascading Style Sheets), and the primary CSS file for your theme is style.css. To get started:
- Open your
style.cssfile in a text editor. - Begin by adding the necessary header comments. These comments provide information about your theme, such as its name, author, version, and description.
Here’s a basic example of how the header comments in your “style.css” might look:
/*
Theme Name: Really Cool Theme
Theme URI: http://mycoolblog
Author: Your Name
Author URI: http://yourname.com
Description: A brief description of your theme
Version: 1.0
*/
After adding the header comments, you can begin writing your CSS rules to style your theme.
Adding Thumbnail of theme:
Include a theme thumbnail with the filename screenshot.png in theme root directory.
Adding index.php
At this point in time, just create a file named index.php at theme root directory. We will fill the contents in index.php in coming blog series parts.
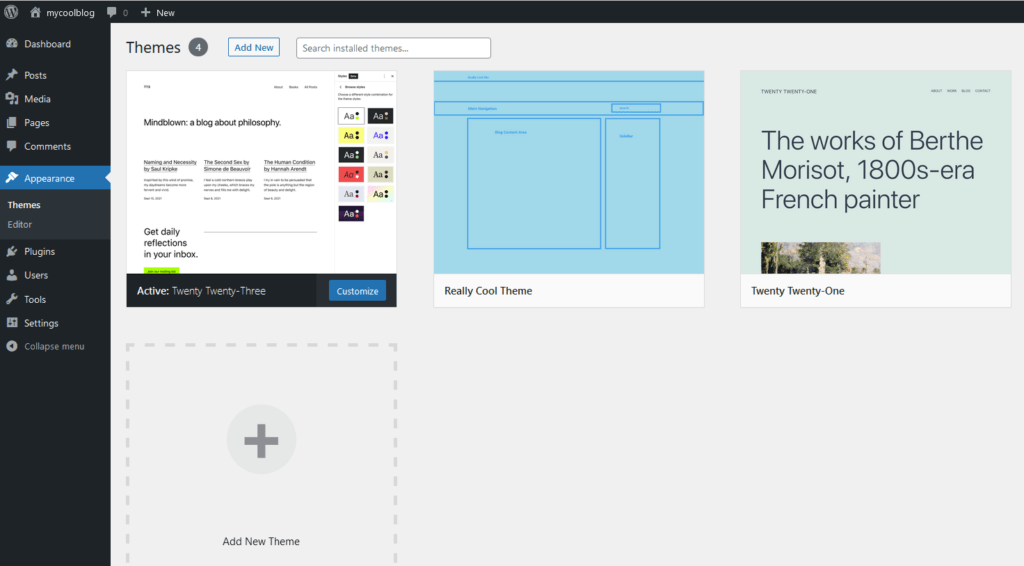
Viewing Your Theme
With your theme directory and atleast three core files (style.css, index.php and screenshot.php) in place, you can view your theme in the WordPress admin dashboard:
- Log in to your WordPress admin panel.
- Navigate to “Appearance” in the left sidebar.
- Under “Themes,” you should see your newly created theme listed.
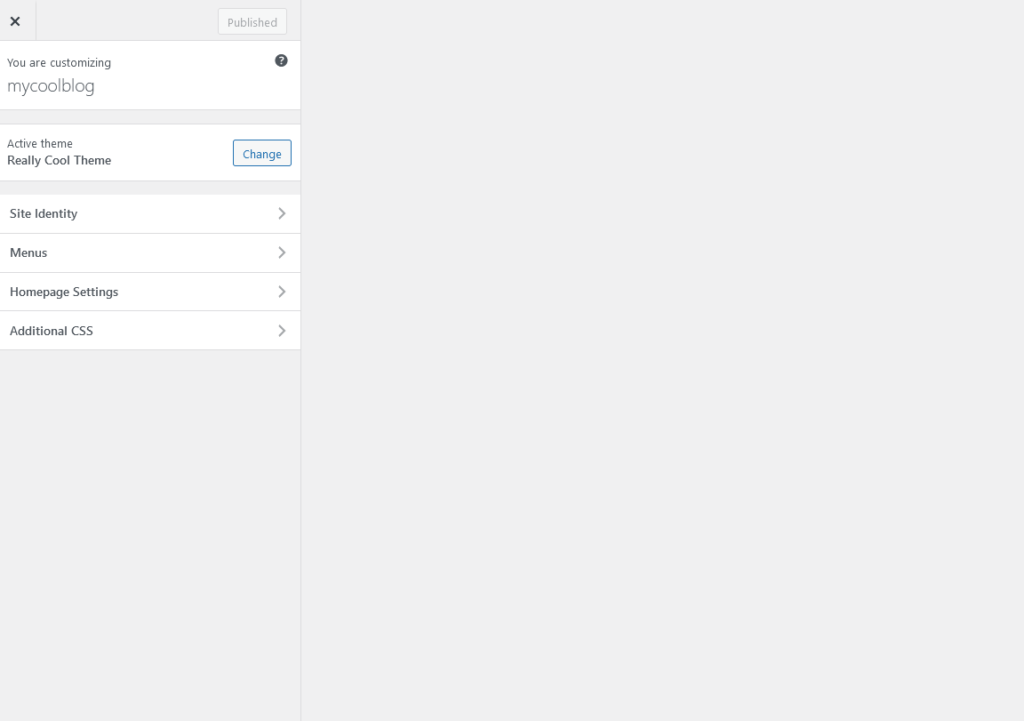
- Click on your theme, and then click the “Activate” button.

Your theme is now active on your WordPress site, and any customizations or templates you create will take effect on your site’s design.
In this part of our WordPress Theme Development Guide, you’ve learned the basics of creating a well-structured theme directory, including the essential files and folders. You’ve also gained insights into the WordPress template hierarchy and have activated your theme. In the upcoming parts of this series, we’ll delve deeper into creating custom templates and styles to make your theme truly unique and tailored to your needs. Stay tuned!