Part 1: Set Up Development Environment for WordPress Theme
When you’re ready to start the journey of creating your own WordPress theme, one of the initial steps is to set up web development environment, that enables you to write code efficiently and test your theme as you build it. In this guide, I’ll walk you through the process of setting up your development environment using two essential tools: Visual Studio Code (VS Code) and a Local server environment.
1. Visual Studio Code (VS Code)
Visual Studio Code is a popular, free, and open-source code editor developed by Microsoft. It’s lightweight, highly customizable, and packed with features that make it an excellent choice for web development, including WordPress theme development.
One of the strengths of VS Code is its vast library of extensions that can enhance your development experience. Here are a few essential extensions for WordPress theme development:
- HTML Intellisense: This extension provides autocompletion for HTML, making it easier and more efficient to write HTML code.
- HTML CSS Suppport: VS Code CSS intellisense support.
- PHP Intelephense: This extension provides intelligent code completion and suggestions for PHP, which is crucial for server side development.
2. Local Server Environment
For WordPress theme development, you’ll need a Local server environment that includes PHP, a web server, and a database. One popular option for setting up a local server environment is using a package like Local by Flywheel.
Installation with Local by Flywheel
Local by Flywheel is a user-friendly tool that simplifies the process of setting up a local WordPress development environment. Here’s how to get started:
- Download Local by Flywheel: Visit the Local by Flywheel website at https://localwp.com/, and download the installer for your operating system.
- Install Local by Flywheel: Run the installer and follow the on-screen instructions to complete the installation.
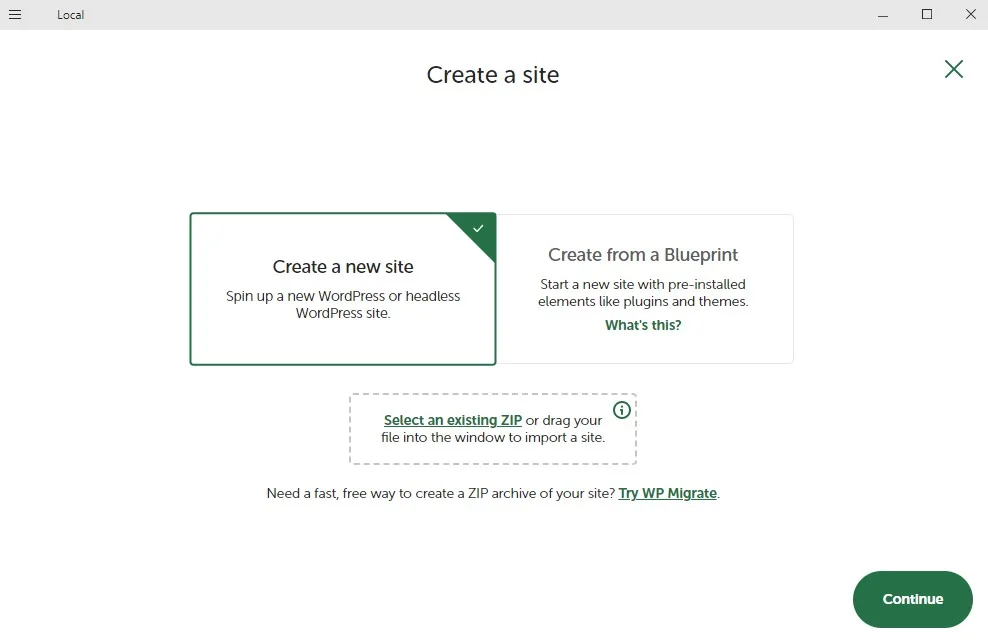
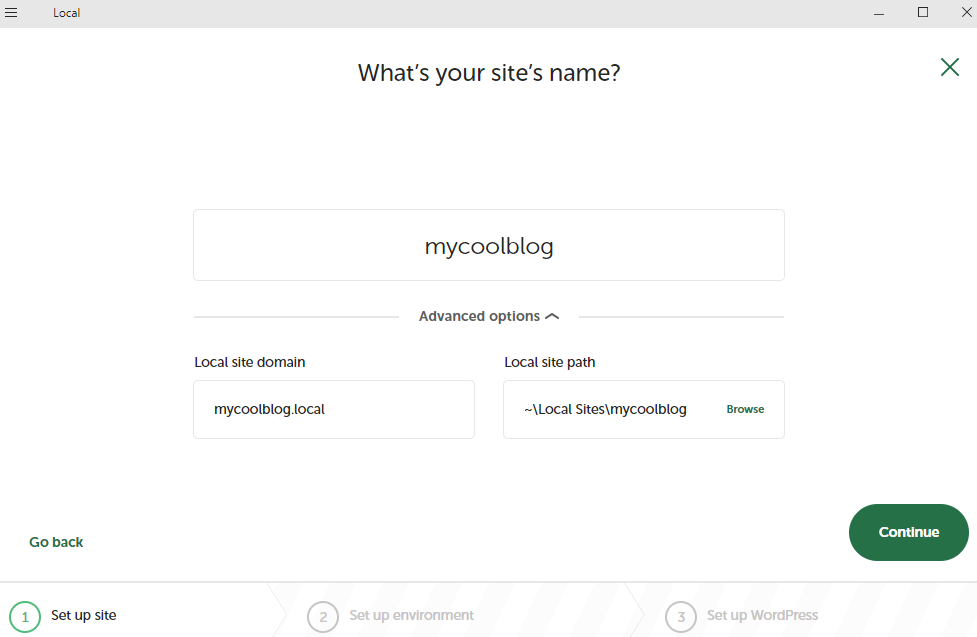
- Create a New Site: After installation, open Local by Flywheel, and create a new site. You can choose a custom site name and set up the environment to match your requirements.
- Install WordPress: Local by Flywheel will automatically install WordPress for you. You can access your WordPress site’s dashboard through the Local by Flywheel interface.

You can find the Local installation in Users home directory, ~\Local Sites3. Create a new Site
- Open the Local Application and create a new site.
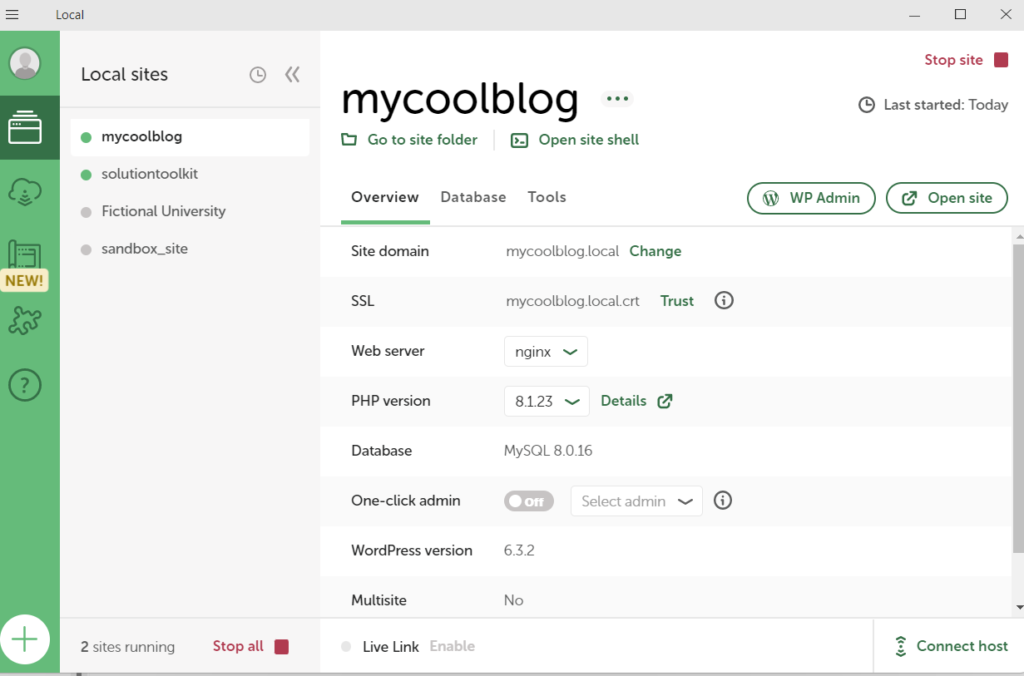
- Either select Preferred preset configuration, which includes (at time of writing) PHP 8.3x, Web Server NGinx and MySQL version 8, or, select Custom setting according to your needs.
- Select user name, password and email, and press Next.
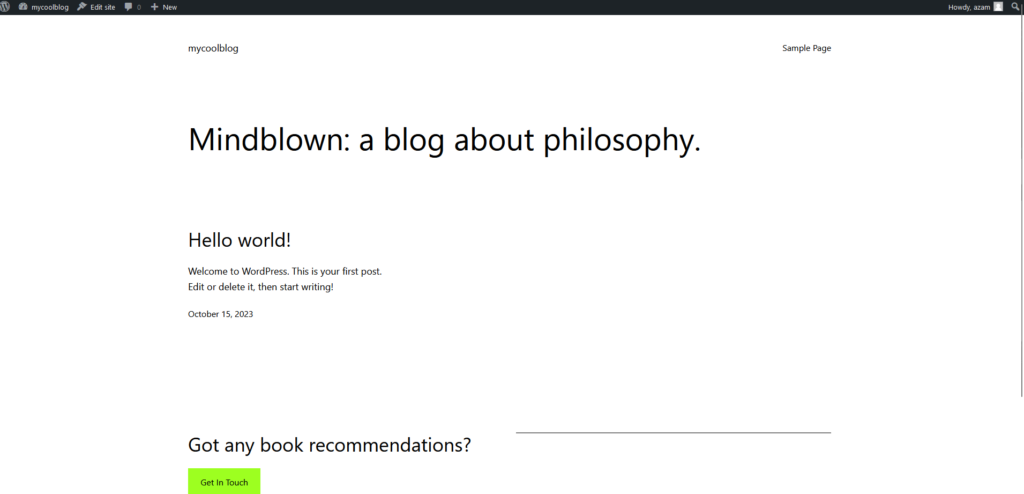
- Local will create a new site and offer to go to wordpress admin view or directly to website link.
After you activate your theme, your website will use a basic default design. In the next section, we’ll start building our own custom theme, where we’ll create and fine-tune every part of the website to make it uniquely ours.
Ready to Develop Your Theme
With VS Code and a local server environment set up, you’re now well-equipped to dive into WordPress theme development. You can open your theme’s directory in VS Code, start your local development environment, and begin creating and testing your theme with ease.
In the upcoming posts of this series, we’ll explore the core components of WordPress theme development, taking you through the steps to build a theme that matches your unique vision. Stay tuned for more!